Having a beautiful lawn is part of home ownership and turf is ideal “instant new lawn”, saving the time and effort of spreading seed and being disappointed with the results. A well laid lawn can increase your outdoors enjoyment and add value to your property. The following quick reference guide has been constructed to assist you.
Tool checklist
- Turf
- Sandy Loam - Underturf Mix
- Lawn Start Fertilizer
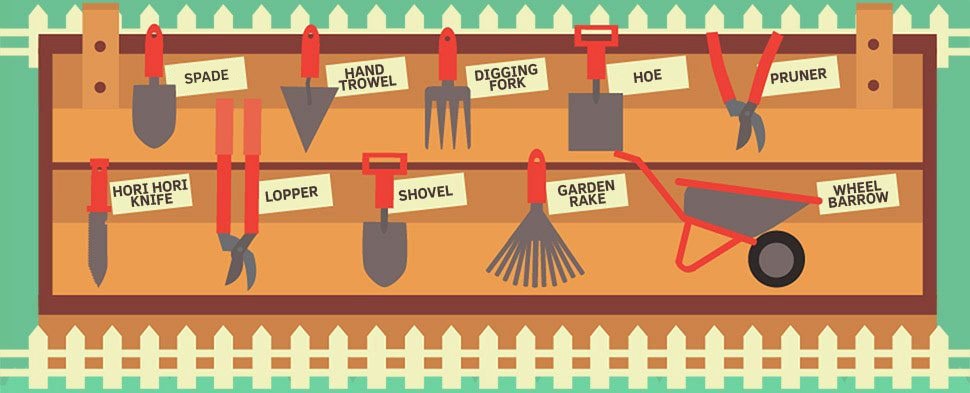
- Mattock and shovel for clearing (or hire a rotary hoe for large areas)
- Glyphosate & sprayer - if required
- Wheelbarrow
- Lawn leveler or rake
- Turf roller
- Broom
Area Calculations
The area of a square (or rectangle) = LENGTH x WIDTH
For example: an area is 8m long and 2m wide = 8 x 2 = 16m2
The area of a triangle = LENGTH x WIDTH ÷ 2
For example: a triangle with a base of 20m and a width of 5m = 20 x 5 ÷ 2 = 50m2
The area of a circle = Pi r2 OR RADIUS X RADIUS X 3.14. The radius is half of the total distance from one side of the circle to the other (diameter) passing through the centre point.
Step 1All weeds need to be eliminated before the lawn is laid if you want a weed free lawn. It is much easier to do it at this stage than after the lawn is established. Depending on the type and amount of weed invasion, this can by done manually or by using a glyphosate weed killer at least a fortnight before.
Step 2
The soil needs to be built up to lay the turf down onto. An organic underturf mix . The normal depth of soil is about 50 mm, but if the soil is heavy clay, spread generous amounts of gypsum, and then add 100 mm of soil.
Step 3
Next comes the crucial levelling stage. You will need a rake, which most people will have, and a leveller, which can be hired for the job. The thickness of turf is about 25 mm, so when placed against paths or edges, the lawn has to sit just a little bit higher than the edge. It is best to take time at this job, because otherwise the end result will be a bumpy lawn.
Step 4
Apply a pre-planting fertiliser. Most gardeners will get a good result from using a complete organic fertiliser. Spread it evenly over the area and it is ready to lay the turf.
Step 5
It is very important to lay the turf as soon as it arrives, rather than letting it sit out in the sun any longer than necessary. Watering the rolls while they are still stacked will not help at all. Lay the turf along the paths and edges first so that there are no small pieces to dry out on the perimeter of the lawn. Press the ends and sides of each roll firmly against the adjoining one. The tighter the join, the quicker and better they will knit together. Note: Joins should be staggered, rather than finishing each roll in a continuous line across the lawn. Ends have a tendency to dry out because they become exposed much more easily, and smaller patches of dry will not be as obvious as one large continuous line.
Step 6
Water is essential to getting a lawn to establish quickly and maintain a good green colour. The water helps to settle the lawn in, trigger the fertiliser and helps the subsequent rolling to be more effective. The lawn needs to be watered immediately the lawn is laid, and then every day afterwards for about a week.
Step 7
The last step is to give it a good roll. You will need a roll that weighs about 45 kgs to do the best job. The aim of this exercise is to firm down the turf, squeeze out any air pockets and ensure a good bond between the grass roots and the soil.
*Before mowing test the grass to see if it can be lifted. If it can, then it hasn’t had enough time to bond with the soil and mowing is likely to pull up the lawn and damage it. Wait until the roots have established in the soil below. The first mowing shouldn’t be too short, just take the top off to encourage new foliage and root growth. Each subsequent mowing can be shorter each time.
The watering regime should be continued. The average lawn needs about 25 mm each week. Fertilising should be done in August and again in September with an organic lawn fertiliser. A well-fed lawn is less likely to have weeds


